Print editions sure are a special time for us origami nuts here at the Campus Times! We revel in the thrill of seeing which campus icon will get the folding treatment, plus the joy of cutting that icon out of the newspaper (or printing them off our website) and bringing them to life with the attached instructions! You gotta love it!
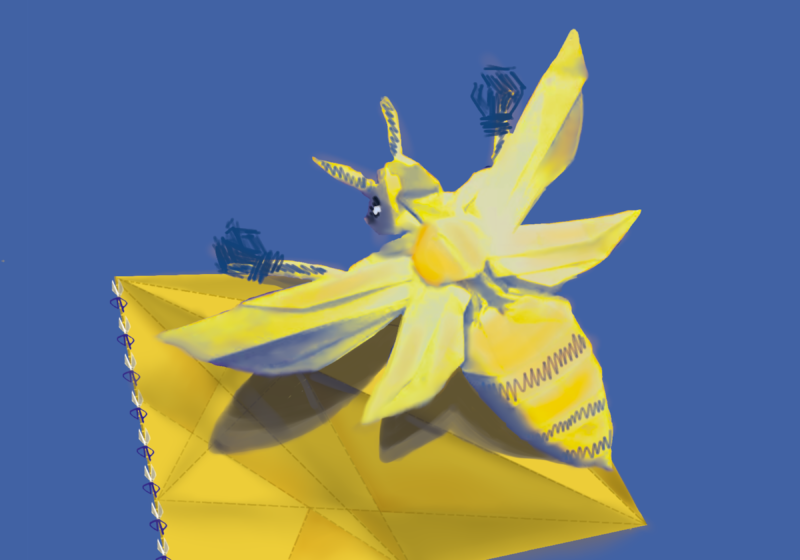
This week’s icon is our buzzing bud Rocky. Follow the instructions below, and you too can make your own 3-D mascot!

Image by Jane Pritchard
- Cut out your Rocky and lay them design-side down, with the edge their head runs along closest to you. Doing so is crucial for all design components to tessellate properly. If scissors make you nervous, don’t be afraid to ask a grown-up for help!
- Fold paper in half lengthwise. Crease, then unfold.
- Perform same fold widthwise. Crease, then unfold.
- Bend in top corners one inch and crease.
- Fold back those same top corners in half. Do NOT crease.
- Flip over your Rocky and redo steps 2 through 5 on the other side, but now on the edges farthest from you (this has to do with the Coriolis effect!!)
- Flip over your Rocky and fold entire paper in half diagonally, both directions. Crease to form an X-fold. Mind the alteriors.
- Water break! (Mandatory.)
- Flip over your Rocky twice more. Re-perform diagonal folds, this time without creasing. Be mindful of feathering and, of course, the alteriors!
- Place your index finger in the center of your Rocky and hold it there until the directions tell you otherwise.
- Roll left third inward and crease top face but not sides.
- Perform a slight scrunch fold around your placed index finger, then lift. Edges should acquiesce.
- Navigating clockwise, reposition all folds such that the paper’s topography is realigned. When you are confident in what you have done, set with crease.
- Dispose of all folds and tabs for now with a bend-back fold. Crease optional.
- Download bonus content at www.campustimes.org/sexual-rocky for tape-on wings (instructions listed on website). Perform listed instructions and set wings aside.
- Perform Deddlemen’s Fold on alteriors until resistance is encountered. Do not crease!!!
- Flip Rocky over and rotate 0.76 radians reverse-wise. Attach wings to taste and re-perform, now with creasing, Deddlemen’s Fold, and hold for the full runtime of Ari Aster’s “The Strange Thing About the Johnsons.” If the paper begins to feather, get out of there!
- Find and press together all fields of yellow on the design side of Rocky.
- Reposition alteriors with another x-fold.
- Fold in flaps to slots, as explained in additional instructions for tape-on wings.
- Congratulations! Your Rocky is ready to fly!